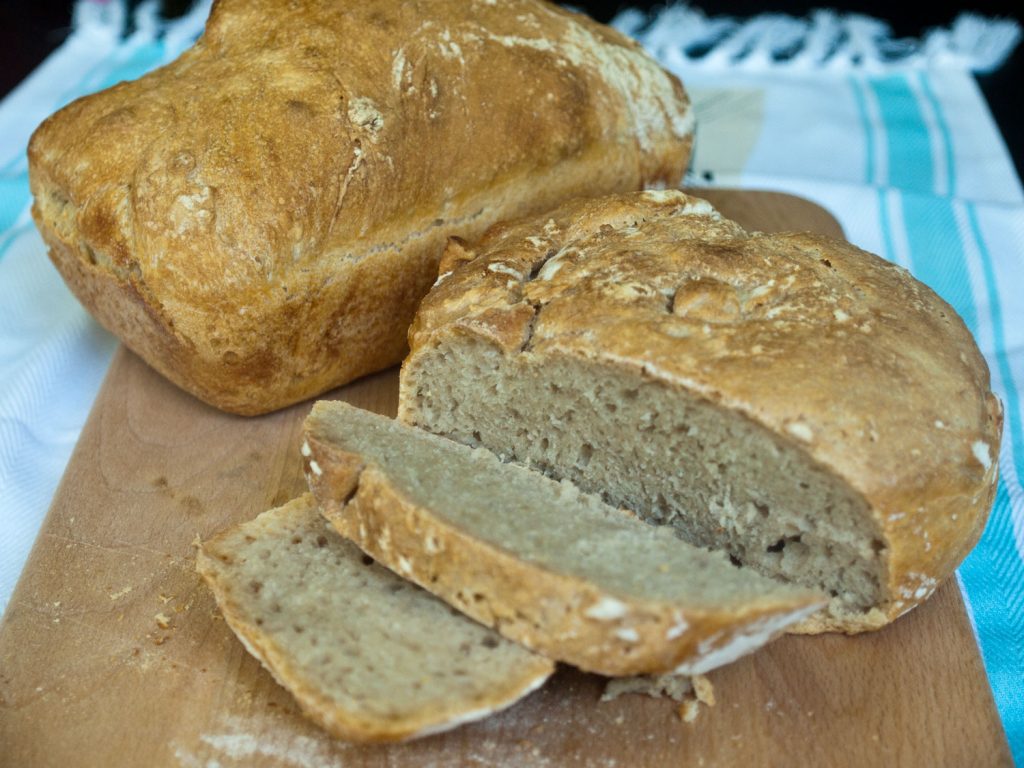
It requires a commitment, but with a little time and understanding, you’ll be
creating delicious sourdough loaves like a pro.
Life is full of unanswered questions. Which came first, the chicken or the egg? If Apple made a car, would it have Windows? And perhaps the most perplexing of all, why do I long to nurture a sourdough starter?
Managing sourdough starter takes more care and planning than taking care of a newborn. It has to be fed, stirred, burped (just kidding), used or given away. You’ve got to commit to baking bread at least weekly. You’ve got to use the starter regularly or give away a portion, and sooner or later you’re gonna run out of friends.
If you’re lucky enough to receive an heirloom sourdough starter you’ve got even more responsibility. It’s entirely possible that starter is decades old, having been nurtured and fed by ancestors who hacked their lives out of the wilderness and whose very survival was dependent on that scrap of sour sludge that you’ve now got tucked away in the back corner of your refrigerator. Don’t be the ONE who kills it.
Still, even with the responsibility and obligation attached to this sour albatross, I long for a crock of sourdough starter to care for. I want to bake the crusty loaves, flip the pancakes and bake sourdough biscuits. I yearn for the bubbly sludge to grow and flourish and perhaps overflow with wild yeasty vigor onto my countertop. Never one to settle for the easy road, I decided to make my own sourdough starter.
Sourdough Starter Yield:
4 cups
Ingredients: All-purpose flour
Water
Note:
Making starter takes about 5 days. Each day you will feed the starter with equal amounts of flour and water. As the wild yeast grows stronger, the starter will become more frothy and sour-smelling. On average, this takes 5 days, but it can take longer. As long as you see bubbles and signs of yeast activity, continue feeding it regularly.
Instructions:
Day 1: Make the initial starter
4 ounces of all-purpose flour
4 ounces of water
Weigh the flour and water, combine them in a glass or plastic container (not metal) and stir vigorously until combined into a smooth batter. Loosely cover the container with plastic wrap or a kitchen towel and secure with a rubber band. Place the container in a safe place with a constant temperature of around 70-75°F and let it sit for 24 hours.
Day 2-5: Feeding and care
4 ounces of all-purpose flour
4 ounces of water
Give the starter a good look. Hopefully you’ll see a few bubbles here and there. That means the wild yeast has found sanctuary in your container and is beginning to set up housekeeping. If you don’t see bubbles yet, never fear. Rome wasn’t built in a day. Weigh the flour and water; combine them in the container; stir vigorously and cover and return the starter to its resting place. By day 5, the starter should be doubling in size every 24 hours. It should be very bubbly, even frothy. It should smell quite sour and pungent. If everything is looking and smelling correct, pat yourself on the back Dr. Frankenstein. It’s alive!
Once the starter has reached this point, it is no longer necessary to feed it daily. To maintain the starter use, (or discard) about half of the starter and then feed it with new flour and water (4 ounces of each) and stir vigorously. If you’re planning on making bread within the next 2 days, leave the starter out on the counter and continue discarding half and feeding it daily. If it will be more than 2 days before you plan to bake, then cover it tightly, and store it in the fridge. Remember to take it out and discard/feed once a week. If your starter has not begun to grow within 7 days, then add a pinch of yeast the next time you feed it. If this doesn’t do the trick, discard the starter and began again.
Basic Sourdough Bread
Yield:
1 cup active sourdough culture
1 cup water
1 teaspoon of salt
3 ½ cups unbleached all-purpose flour
Dough proof: Pour the culture into a mixing bowl. Stir the water and salt into the culture with a mixing spoon. Add the flour, a cup at a time until the dough is too stiff to mix by hand. Turn out onto a floured surface and knead in the remaining flour until the dough is smooth and satiny.
Proof the dough overnight (8 to 12 hours) at room temperature, about 70°F, in a large bowl covered by plastic wrap. During this time, the dough should double in size. After the proof, use a spatula to gently ease the dough out onto a floured board.
Allow the dough to rest for 30 minutes. If flattening occurs during this time, knead in additional flour before shaping.
After the 30-minute rest, shape the dough. Flatten it slightly, then lift a portion from the periphery and pull it towards the center. Continue this around the dough mass to form a rough ball, then pat and pull into the shape you desire.
Loaf proof: Place the shaped loaf in a bread pan, or for French loaves, on a baking sheet. Cover and proof at room temperature for 2 to 4 hours until it has doubled in bulk or reached nearly the top of the bread pan.
Baking: Just before putting the loaf in the oven, slash the surface of the dough several times with a razor blade. Place the pan with its shaped, proofed loaf in a cool oven, then turn the temperature to 375°F and bake for 70 minutes. For a firm, chewy crust, place a pan of boiling water below the loaf. When the loaf is baked, remove it from the pan and let cool on a wire rack for at least 15 to 20 minutes before slicing.


